I've wanted to hatch my own chicks since my first spring keeping chickens. But not a single one of my hens has ever gone broody on command. Dolly, my Australorp, sat in the nesting box for about three days and then hopped off like she'd completely forgotten what she was doing. So when I got my hands on a dozen fertilized Orpington eggs from a friend's flock last spring, I knew an incubator was my only path to chicks. After a lot of reading, one bad hatch, and one really good one, I figured out what actually matters. This guide covers every step, in the right order, so your first hatch doesn't have to be as messy as mine.
The biggest mistake new hatchers make is treating the incubator like a crockpot: set it and forget it. Hatching eggs is a 21-day job that has three distinct phases, and each one has different rules. Miss the details and you get a low hatch rate or worse, fully developed chicks that die in the shell on day 20. Get the details right and you'll be fishing fluffy chicks out of the incubator at 6am grinning like an idiot. Here is exactly how to do it.
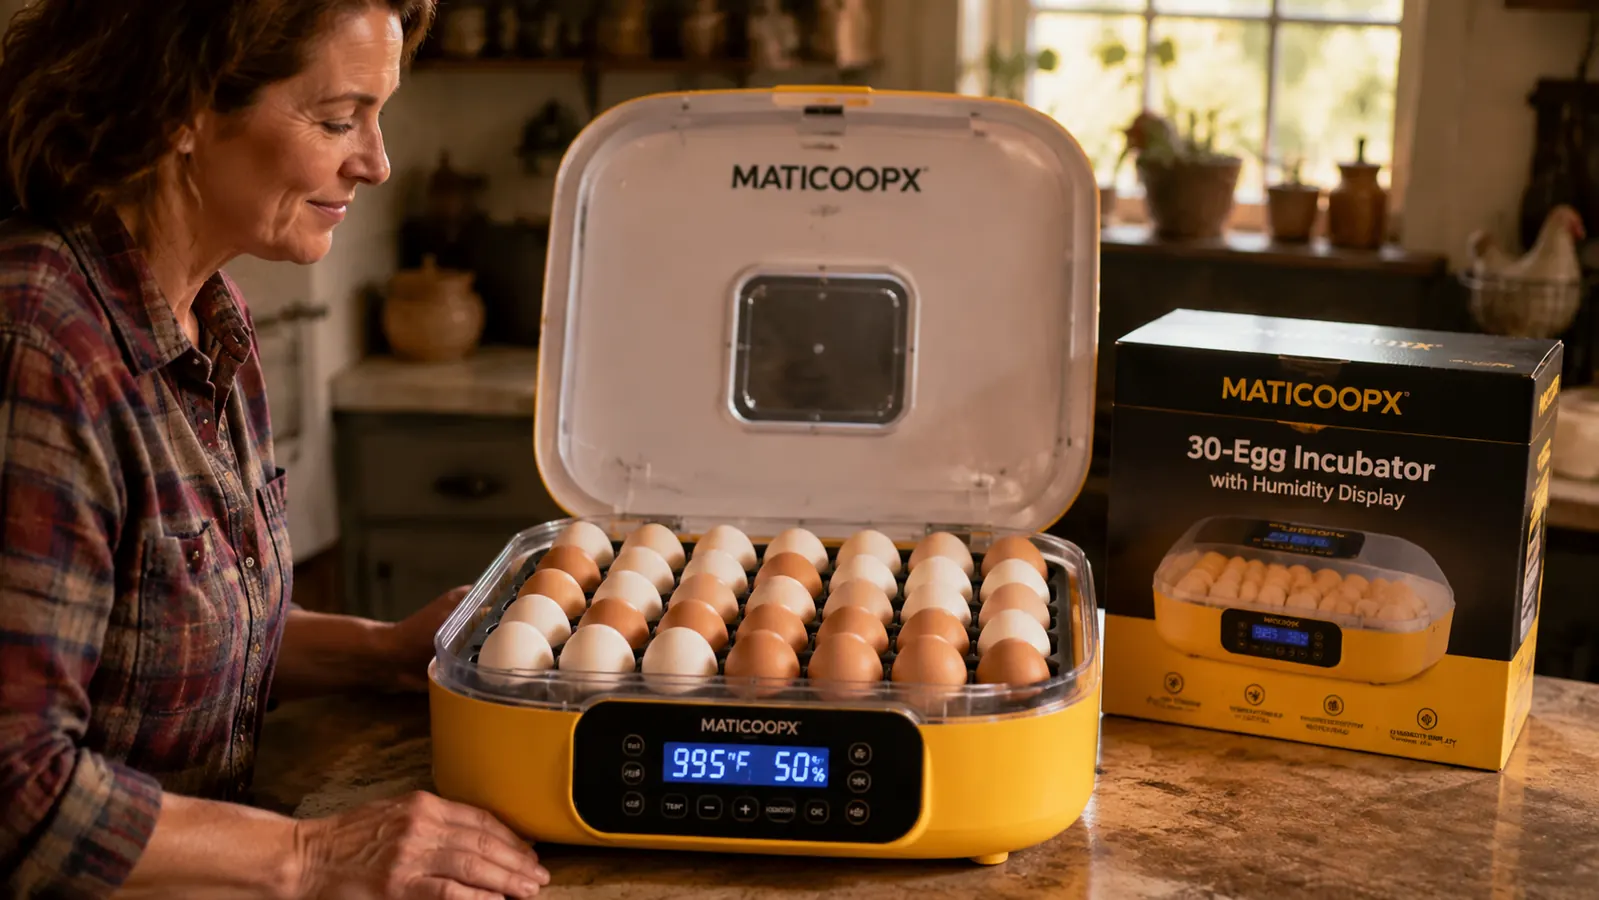
The incubator I use for every hatch: holds 30 eggs, has a built-in humidity display, and does the turning for you.
The MATICOOPX 30-Egg Incubator is the one I recommend to every first-timer in my flock-keeping Facebook group. Auto-turner, dual temperature and humidity display, and a built-in egg candler. It takes a lot of the guesswork off your plate so you can focus on what the eggs actually need.
Amazon Check Today's Price on Amazon →Step 1: Source Fertile Eggs the Right Way
You cannot hatch a grocery store egg. Those come from all-female commercial flocks and have never seen a rooster. You need fertile eggs, meaning they were laid by hens that live with a rooster. The three best sources are: a local breeder (easiest to find through the Backyard Chickens forum or Facebook groups in your area), a local farm that keeps a mixed flock, or a hatchery that ships hatching eggs by mail. Each has trade-offs.
Local eggs are your best bet for hatch rates. Shipped eggs can have their air cells scrambled in transit, which tanks viability. If you do order shipped eggs, choose a seller with strong feedback specifically on shipped hatching eggs, ask them to wrap each egg individually in bubble wrap, and budget for a 60-70% hatch rate instead of 80-85%. When you pick up or receive your eggs, don't run straight to the incubator. You need to let them rest first.
Step 2: Store Eggs Correctly Before Setting
If you can't set the eggs the day you get them, store them pointed-end down in an egg carton at 55-65 degrees Fahrenheit. A cool basement works. The back of the fridge is too cold and will kill viability fast. Tilt the carton to one side and prop it there for 12 hours, then tilt it the other direction. This keeps the yolk centered and prevents it from sticking to the shell membrane. The max storage window is 7 days. Beyond that, hatch rates drop sharply, and after 14 days you're essentially rolling dice.
Before setting, bring the eggs to room temperature for 6-8 hours. Cold eggs put into a warm incubator create condensation on the shell. That moisture can carry bacteria right through the pores. Just set them on the counter, pointed end down, and leave them alone. While they're warming up, get your incubator running.
Step 3: Set Up and Pre-Run Your Incubator
Plug in your MATICOOPX at least 24 hours before you plan to set eggs. You want the temperature stable at 99.5 degrees Fahrenheit and humidity between 45-50% before a single egg goes in. New hatchers almost always skip this step and put eggs in while the incubator is still cycling up and down trying to find its equilibrium. That temperature instability in the first 48 hours is a real risk to early embryo development.
The MATICOOPX makes setup easier than older units because it shows both temperature and humidity on the same display in real time. Fill the water channels according to the manual, but know that how much you fill depends on the humidity in your home. In dry climates or during winter when indoor air is parched, you may need to add a small sponge or top up more frequently. In a humid summer, you might barely need to add water at all. Watch the display, not just the instructions. Set the auto-turner to run. It turns the eggs every 2 hours and saves you from the three-times-a-day hand rotation that used to be standard.
Place the incubator away from windows, heating vents, and air conditioning returns. Temperature swings from drafts are the silent hatch-rate killer. A stable interior room on a counter top, away from direct sunlight, is ideal.
Run the incubator for a full 24 hours before you set a single egg. If the temp is still swinging when the eggs go in, you're starting behind.
Step 4: Set the Eggs and Manage Days 1 Through 18
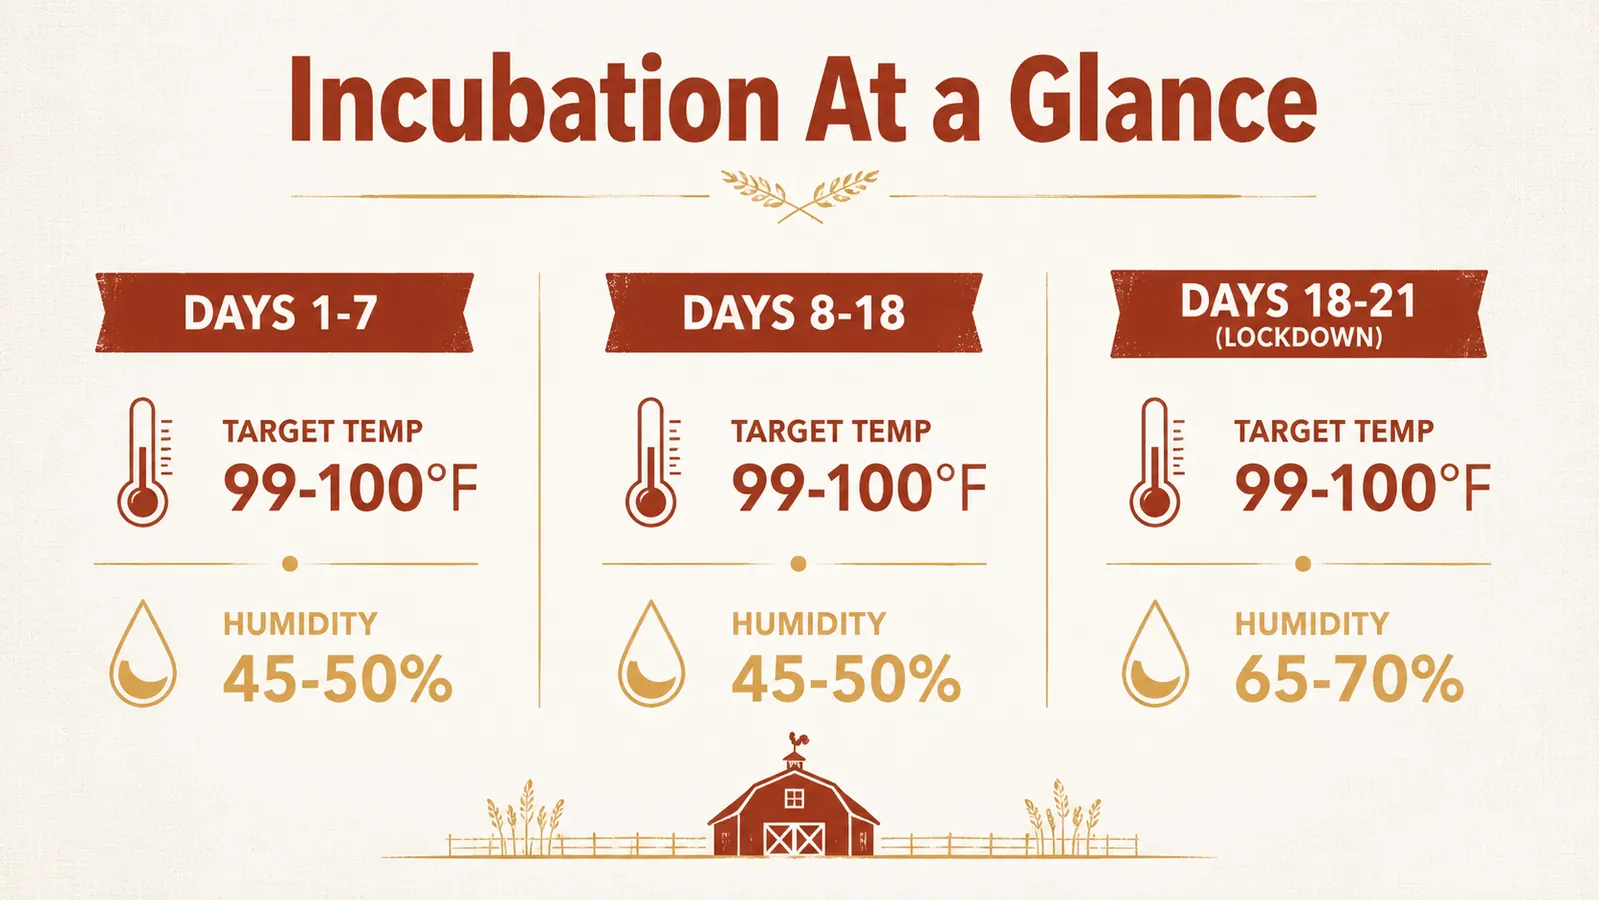
Load your eggs into the auto-turner tray, pointed end down. Mark the top of each egg lightly with a pencil X so you can verify the turner is working. Check every 12 hours for the first two days. You should see the X flipping from one side to the other. Temperature target: 99-100 degrees Fahrenheit. Humidity target: 45-50%. Write the set date on a piece of tape stuck to the incubator and count out day 18 and day 21 on your calendar right now. You'll need both dates later.
The first 18 days are mostly about consistency. Resist the urge to open the lid constantly. Every time you open it, you lose heat and humidity, and the eggs spend time recovering instead of developing. The only legitimate reasons to open the lid during days 1-18 are to top up water channels and to candle eggs around day 7-10.
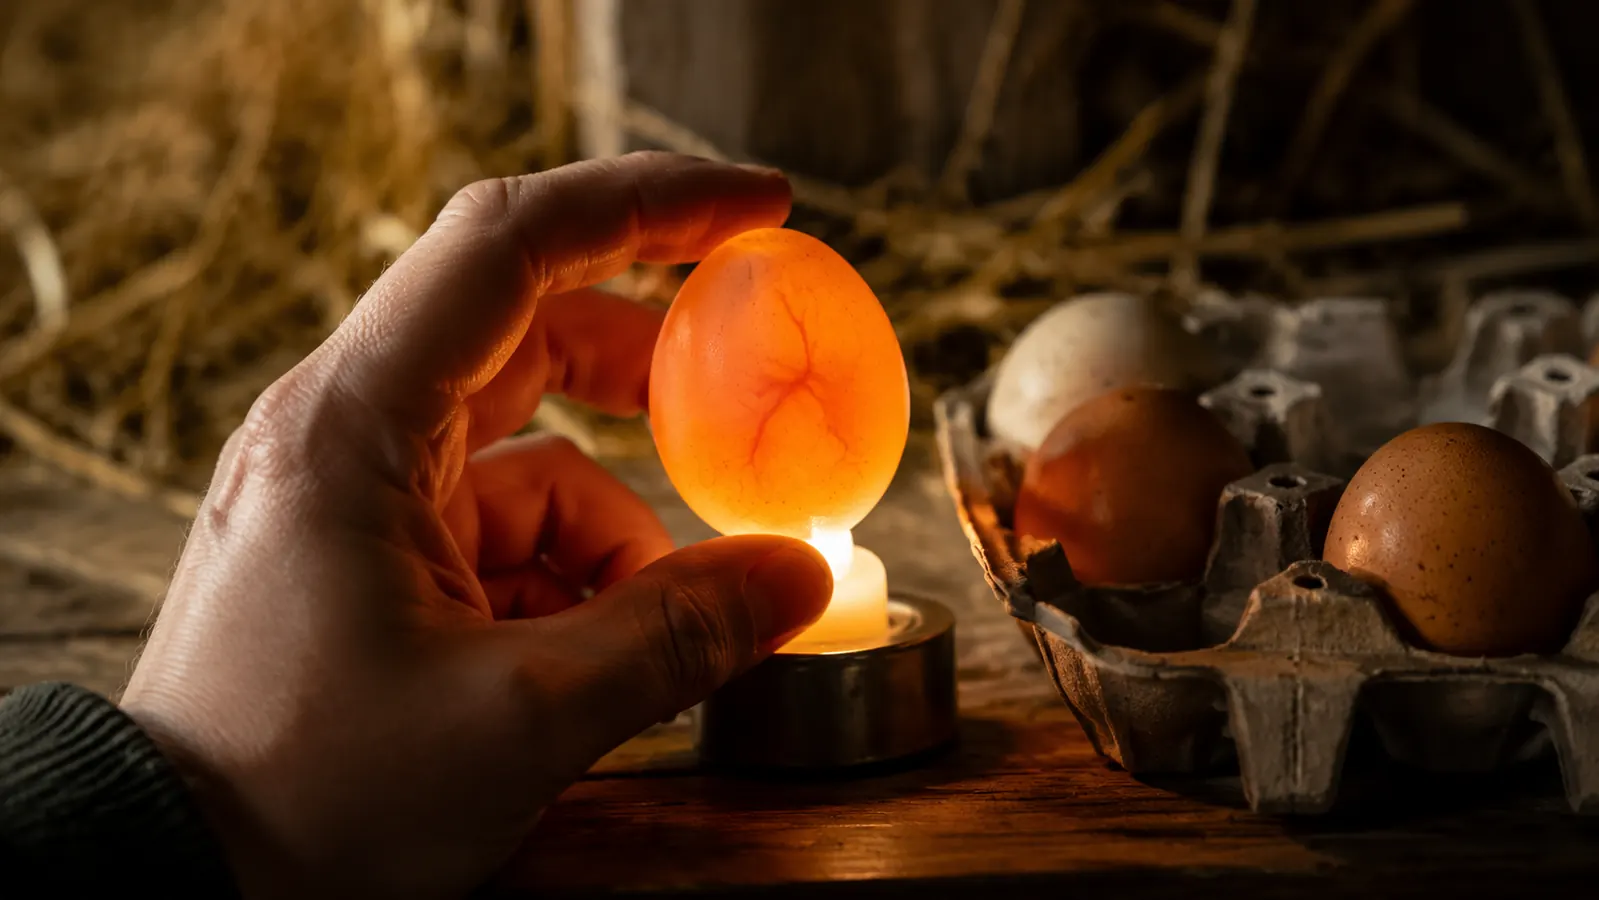
Candling: How to Know If Eggs Are Developing
Around day 7-10, pull one egg at a time and hold it against the built-in candler on the MATICOOPX (or a strong flashlight in a dark room). A developing egg will show a spider web of dark red veins spreading out from a small dark spot, the embryo. You may also see movement if you hold it steady. A clear egg with no veins is almost certainly infertile or died early. A ring of blood around the yolk is a blood ring and means the embryo started but quit. Remove clear eggs and blood ring eggs promptly. They can go bad inside and explode, contaminating everything else in the incubator.
Don't stress if a few eggs look unclear at day 7. Dark shell eggs like Marans or Olive Eggers are nearly impossible to candle until day 10 or even 14. If you're unsure, leave it. A bad egg won't hurt anything until it actually goes rotten, and you'll know that when it happens by the smell.
Step 5: Lockdown at Day 18
Day 18 is lockdown. This is the most important phase shift in the whole process and the one most first-timers get wrong. When the incubator clock hits 18 days from the set date, do all of the following before you close the lid, because you are not opening it again until after the hatch.
First, remove the eggs from the auto-turner tray and lay them on their sides directly on the wire mesh floor of the incubator. The turner needs to stop because chicks need to orient themselves head-toward-the-air-cell in the final days, and the rocking motion disrupts that. Second, top up every water channel completely. You're about to raise humidity to 65-70% and keep it there. Third, do a final candle to remove any obviously dead eggs. You can usually tell by now because a viable egg will be almost completely dark inside, just a thin air cell visible at the wide end. A dead egg often looks cloudy or has a detached dark mass floating loose.
Close the lid. The higher humidity from day 18 to 21 is critical because it softens the membrane inside the shell so the chick can break through. Too low and the membrane dries out, the chick gets shrink-wrapped inside, and it can't pip. Do not open the lid unless an egg has been pipped (cracked from the inside) for more than 24 hours with no progress and you suspect the chick is shrink-wrapped. Even then, a quick spritz of warm water and the lid back on is the maximum intervention.
Hatch Day: What to Expect on Day 19 Through 21
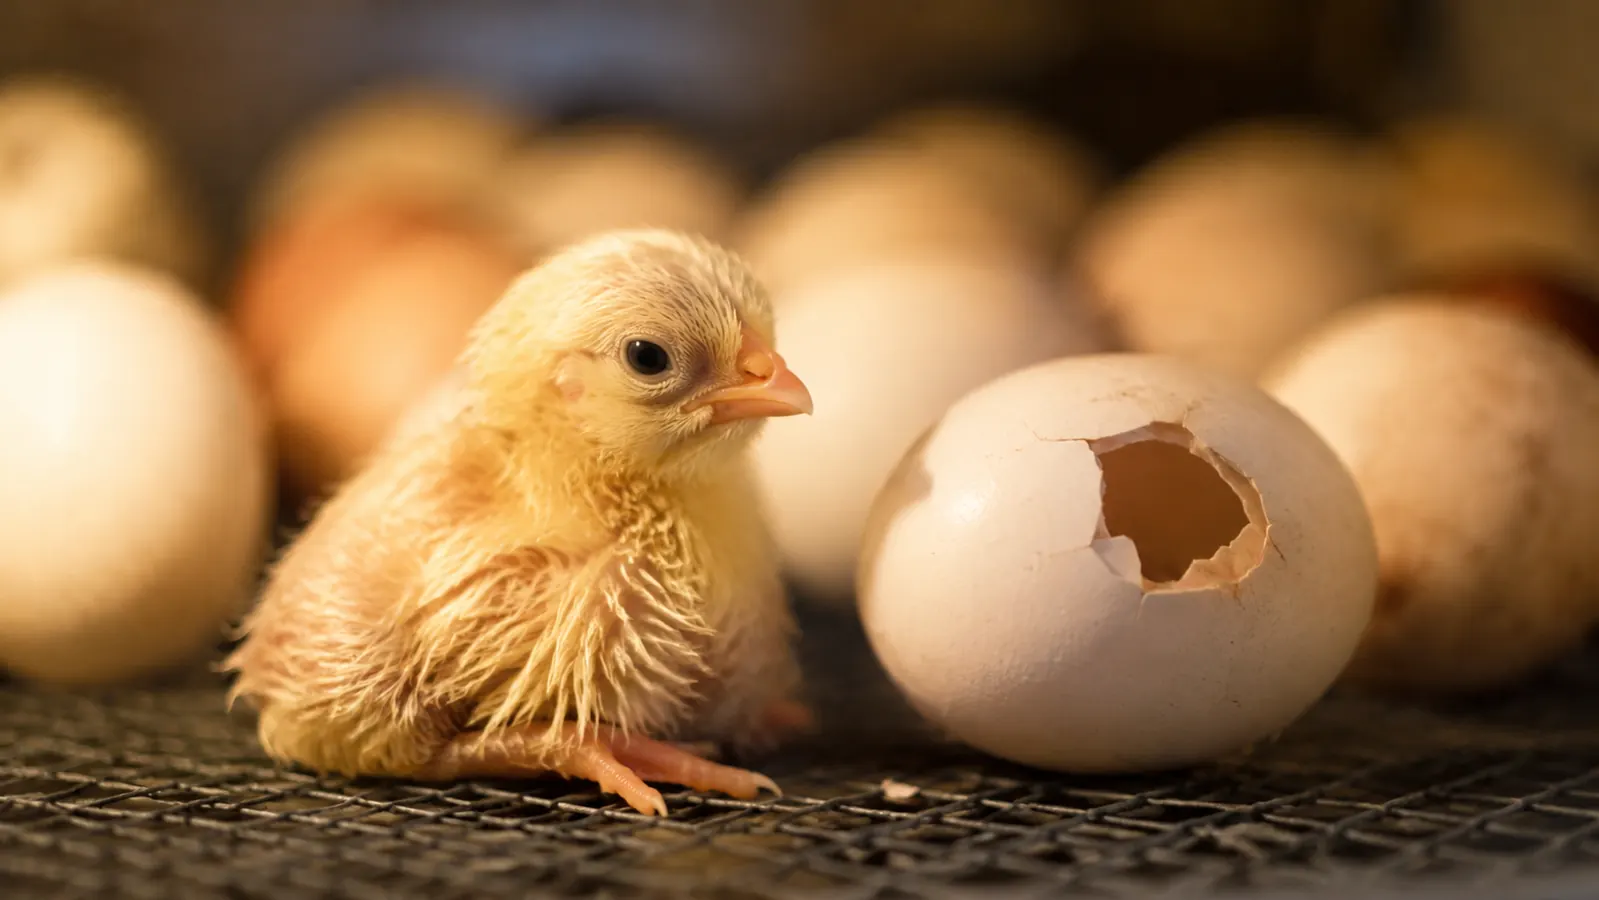
Around day 19 or 20 you'll start to hear peeping inside the eggs. That's the chick talking to you through the shell. Within a few hours of that, you'll see a tiny star-shaped crack, the pip, appear on the broad end of the egg. From pip to hatch is usually 12-24 hours. The chick is working hard and needs to rest between pushes. That's normal. Your job is to not open the lid and to try not to pace.
Once a chick hatches, leave it in the incubator. It will be wet and exhausted. It needs 12-24 hours to fully dry and fluff out before it moves to the brooder. A wet chick in a cold brooder is a dead chick. Stagger chicks to the brooder in groups once they're fully dry and stable. Any eggs that haven't hatched by day 23 are almost certainly not viable. Give them until then, then candle before you toss them just to be sure.
Step 6: Set Up the Brooder Before Hatch Day
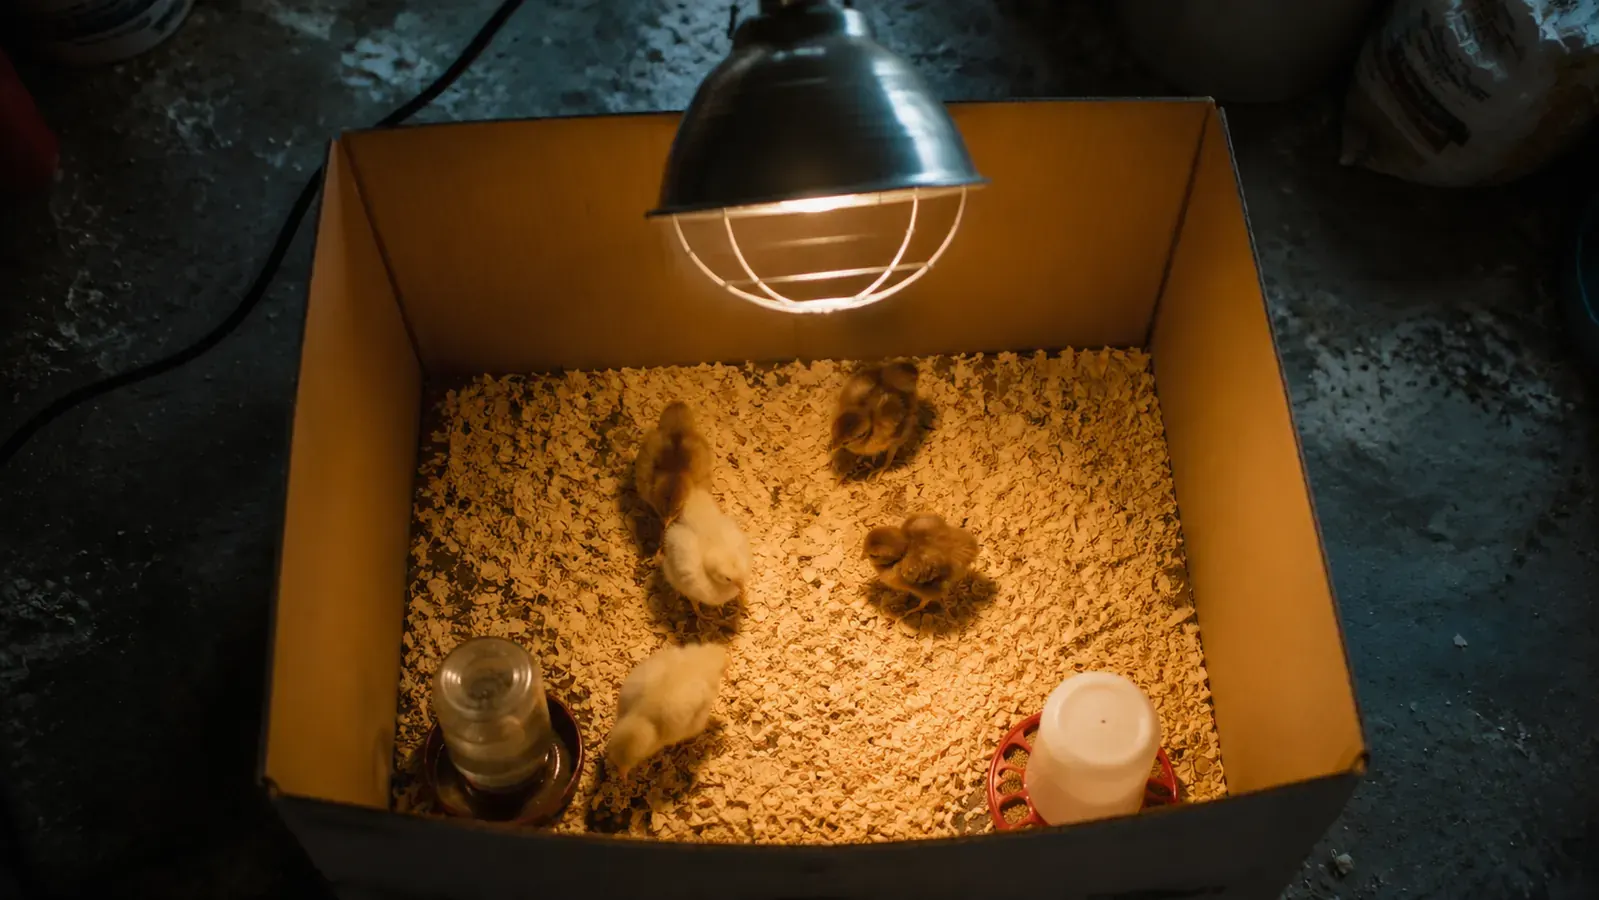
Don't wait until chicks are hatching to build a brooder. Set it up at least 24 hours before your expected hatch date and have it warm and ready. A brooder can be as simple as a large cardboard box or a plastic storage tote. Line the bottom with paper towels for the first 3-5 days, not pine shavings. Chicks don't know what food is yet and will eat the shavings, which can cause a fatal impaction. Paper towels give them traction and they can see the chick crumble scattered on top.
Heat source: a heat plate (also called a brooder plate or mama heating pad) is safer and more energy-efficient than a heat lamp, but a 250-watt red heat lamp works fine and is easier to find. Target temperature at chick level directly under the heat source is 95 degrees the first week, dropping 5 degrees each week after that. Put a thermometer in the brooder and verify it before the chicks go in. Water: a small chick waterer or mason jar waterer with marbles in the base so chicks can't drown. Food: chick starter crumble, 18-20% protein, non-medicated if you are not vaccinating for coccidiosis, medicated if you are. Offer grit within the first week if you give anything besides crumble.
Common Rookie Mistakes to Avoid
Opening the incubator too often during days 1-18 is the number one mistake. The second is not raising humidity at lockdown. Third is moving chicks to the brooder while they're still wet. Fourth is setting the incubator in a drafty spot near a window or vent. Fifth is skipping the 24-hour pre-run and loading eggs into an unstable machine. I have made four of these five at some point. Learn from my failures.
A few other things worth knowing: if your power goes out for less than 4-6 hours during incubation, the eggs will likely be fine. Wrap a towel around the incubator to retain heat and wait for power to return. Don't try to compensate by cranking the temp up after. If power is out for more than 8 hours, especially in the first week, viability drops significantly. You may want to candle on day 10 before you get too attached. Also, hatching is loud. The peeping starts faintly through the shell on day 19 and by the time there are three or four chicks in the incubator it is genuinely loud. You have been warned.
What Else Helps
A hygrometer-thermometer combo that you calibrate yourself before the hatch is worth having as a backup to the incubator's built-in sensors. The MATICOOPX display is reliable, but having an independent reading lets you verify it isn't drifting. A small flashlight-style egg candler works better than overhead lights for dark shell eggs. And keeping a hatch log, just a notes app entry per day with temp, humidity, and anything you noticed, makes your second hatch dramatically better than your first.
If you want a deeper look at the MATICOOPX's actual hatch rate performance and how it compares to other units in the same price range, I've written both a full long-term review and a side-by-side comparison. Links are below. But for right now, if you've got fertile eggs and a willing incubator, you have everything you need. Trust the process, watch the humidity, and keep the lid closed.
Internal links: See the full MATICOOPX 30-Egg Incubator review for hatch rate data and a closer look at the machine itself. If you're comparing options, the MATICOOPX vs Nurture Right 360 comparison breaks down exactly where each unit wins.
Ready to set your first batch? The MATICOOPX holds 30 eggs, turns them automatically, and shows you live humidity so you never have to guess.
This is the incubator I use and the one I recommend to anyone starting their first hatch. It removes the hardest parts of manual hatching and gives you the data you need to improve with every batch.
Amazon Check Today's Price on Amazon →