Every winter, without fail, I end up doing the frozen-waterer shuffle at least once. You know the one: haul out a fresh bucket, crack the ice off the old drinker, refill it, go inside, come back two hours later, and repeat. I did that for two winters before I finally bought the Farm Innovators 3-gallon heated waterer and stopped the madness. The thing works. But it only works if you set it up right from the start , wrong placement, wrong cord, and you're either dealing with an ice ring at the rim or a tripped breaker at midnight.
This guide walks you through the full setup: where to position the waterer, how high to hang it, what kind of extension cord is safe in a wet coop, how to protect your outlet with a GFCI breaker, how to keep it clean through a long winter, and how to troubleshoot the four most common problems chicken keepers run into. If you follow these steps before the first hard freeze, your birds will have liquid water all season without any drama.
The waterer that ends the frozen-bucket shuffle
The Farm Innovators 3-gallon heated waterer has 6,477 reviews and a 4.2-star average. It runs 100 watts, has a built-in thermostat that kicks on only when temps drop near freezing, and hangs from the same chain as a standard gravity waterer. Check today's price before stock tightens up in October.
Amazon Check Today's Price on Amazon →Step 1: Pick the Right Spot Inside the Coop or Run
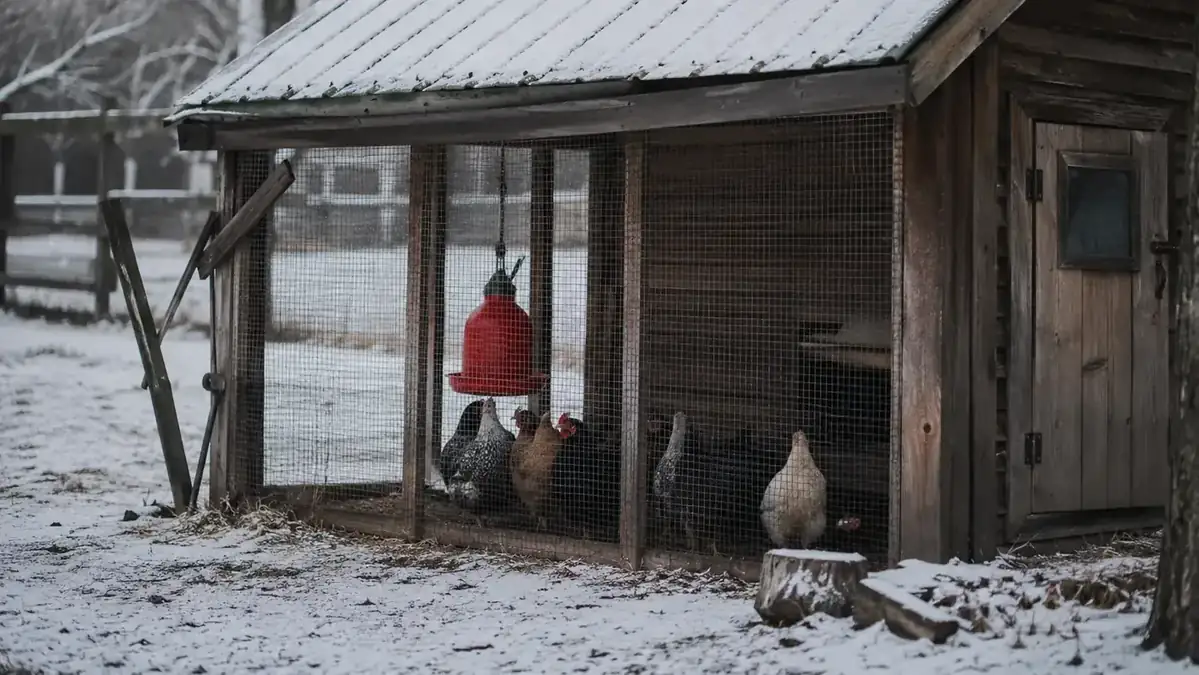
The Farm Innovators waterer is designed to hang. That is its whole setup. The chain attaches to a hook screwed into a rafter or a horizontal board, and gravity does the rest. Your first job is choosing where that hook goes. Inside the coop is usually the better call in very cold climates because the body heat of even a small flock raises the ambient temperature a few degrees. If your coop is well-insulated, the heater runs less often and your electric bill stays lower.
Inside a covered run works fine too, especially if the run has a solid roof that blocks wind. What you want to avoid is positioning the waterer where it gets direct exposure to a prevailing wind or where it sits in a low corner that collects cold air. Cold air pools low. A waterer sitting directly on the ground, even a heated one, fights a harder battle than one hanging 10 inches up with airflow around it.
Keep it away from the droppings board and the nest boxes. Chickens splash when they drink, and anything with moisture near the roost bars is going to make the coop wetter than it should be. Give the waterer its own corner with a few inches of clearance on every side.
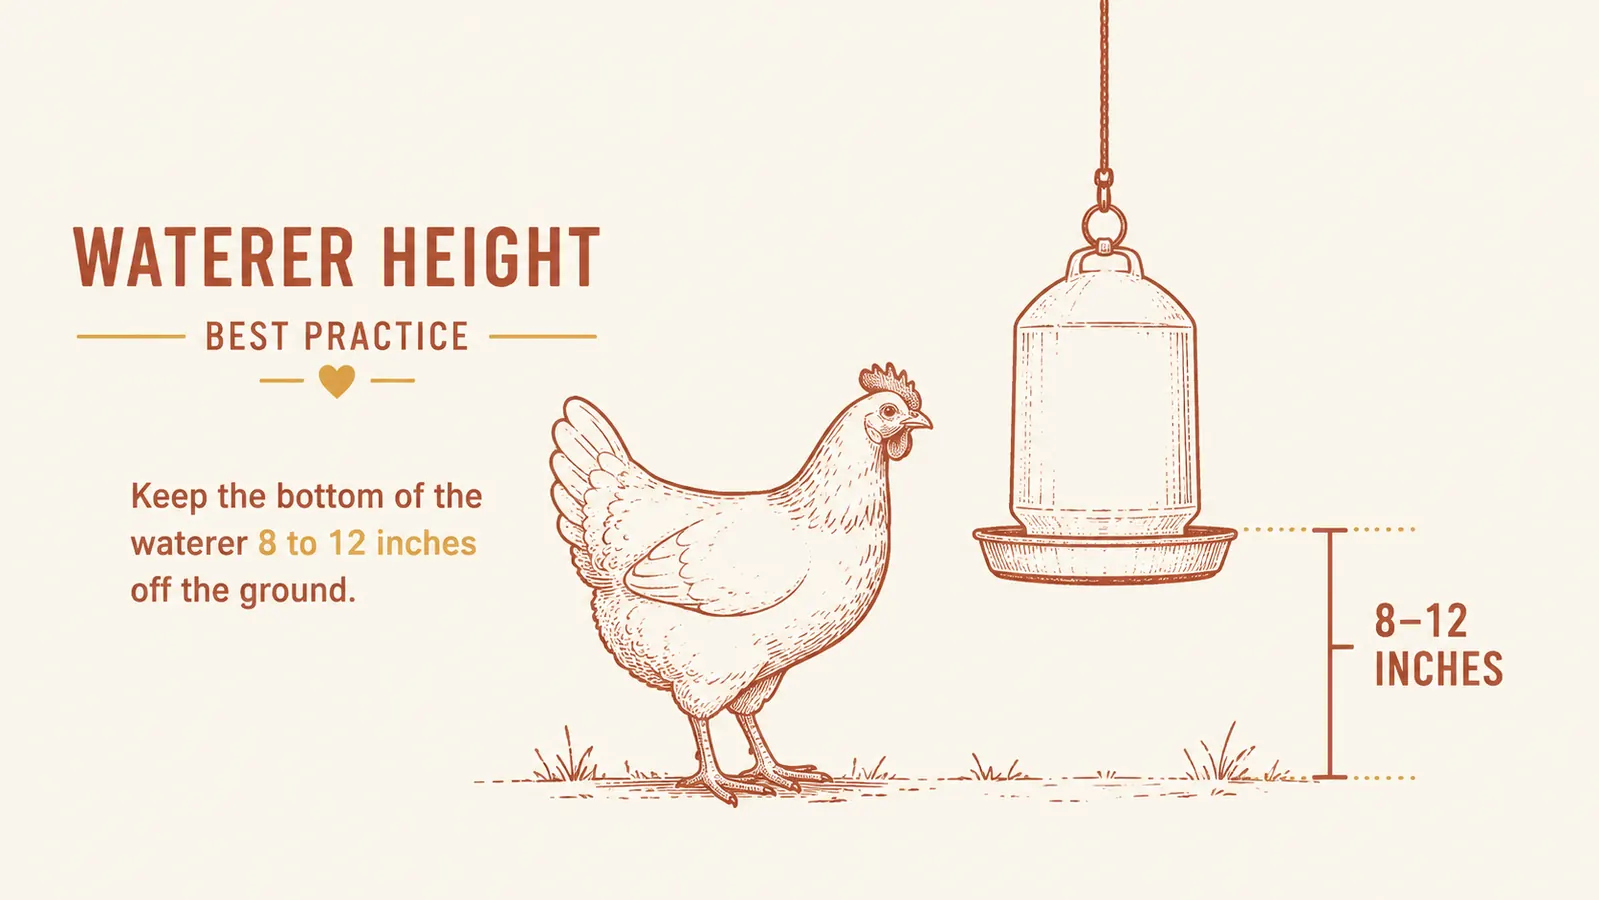
Step 2: Set the Height so Your Birds Drink Comfortably
The classic rule of thumb is back height, meaning you hang the waterer so the drinking trough sits at about the height of an average hen's back. For standard breeds like Barred Rocks or Rhode Island Reds, that is roughly 8 to 12 inches off the ground. If you have bantams, drop it to 6 to 8 inches. If you have a mixed flock, err toward the lower end of the range so everybody can reach.
Too high and the smaller birds strain their necks. Too low and the hens kick shavings and litter into the trough constantly, which accelerates algae growth and contamination. Getting the height right is one of the smallest adjustments with the biggest payoff for water cleanliness over the winter. The Farm Innovators chain gives you some adjustment range. Use it.
Step 3: Run the Power Safely , Extension Cord and GFCI Protection
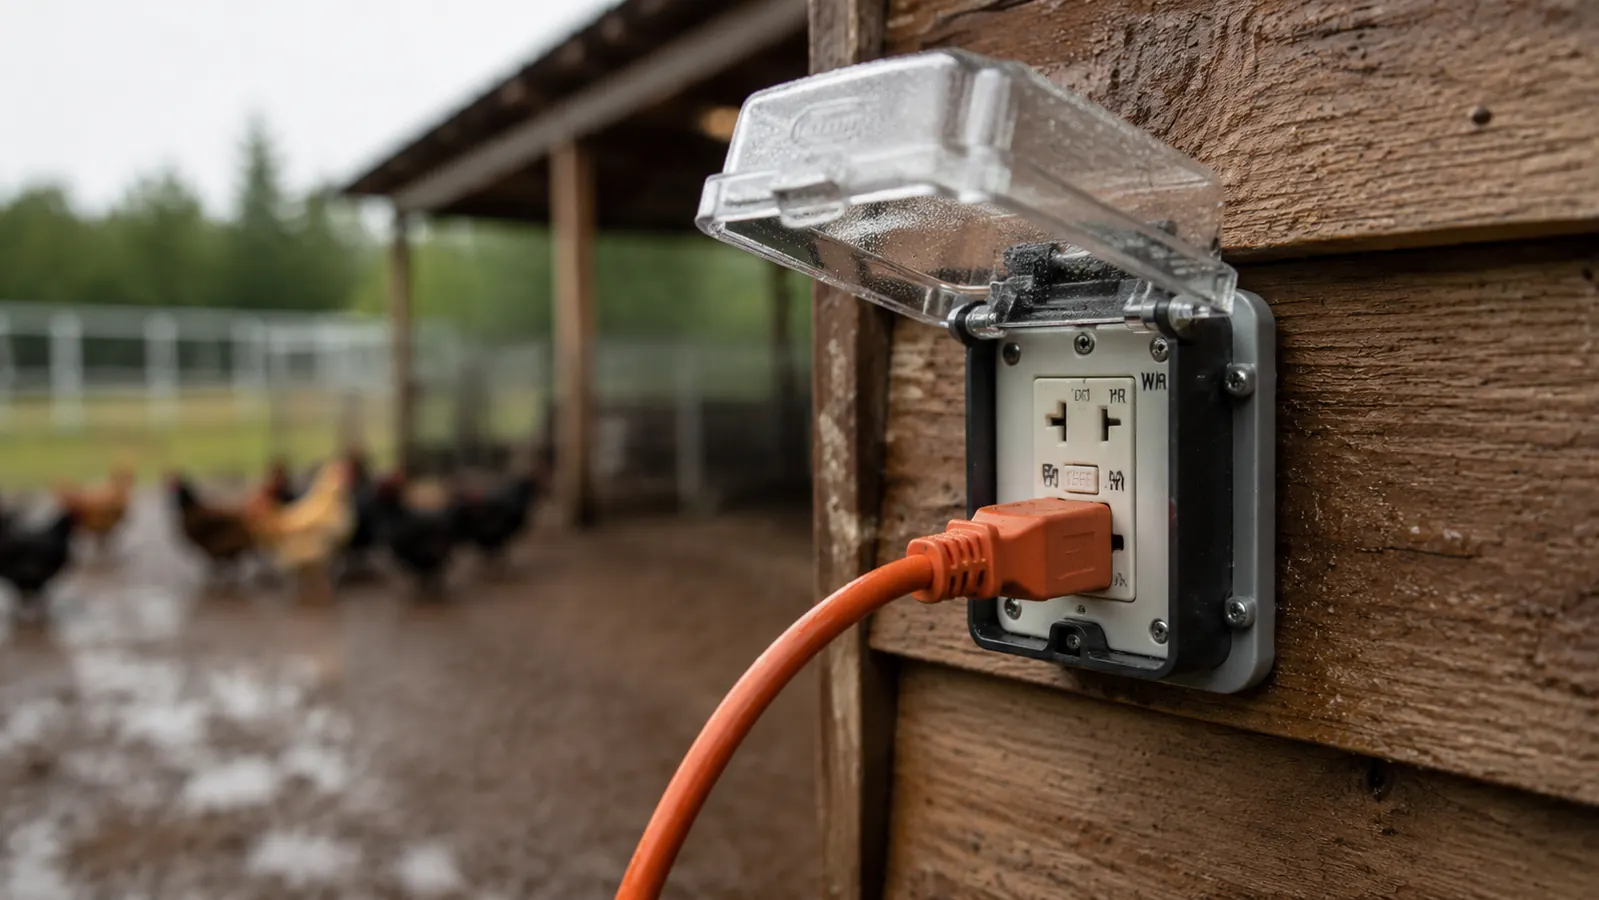
This is where most people cut corners and regret it. A coop is a moist environment. Shavings, manure dust, condensation, and the occasional splash make it exactly the kind of place where electrical shortcuts cause fires or electrocutions. The Farm Innovators waterer draws 100 watts, which is modest, but the cord needs to be rated for that load in outdoor, wet conditions.
Use a 12-gauge or 14-gauge outdoor-rated extension cord, not a lightweight indoor extension cord. Outdoor cords have thicker insulation, water-resistant connectors, and are rated for the temperature swings a coop sees. Routing matters too: run the cord along a wall or overhead rather than across the floor where birds walk on it, peck at it, or it gets buried in wet litter. A cord staple or cord clip every 18 inches keeps it tidy and off the ground.
The single most important upgrade you can make to any chicken-coop electrical setup is a GFCI outlet or a GFCI extension cord. A ground fault circuit interrupter trips in a fraction of a second if current finds an unintended path, like through water, metal, or a curious hen. If the outlet serving your coop is not already a GFCI outlet, either install one or use a plug-in GFCI adapter on any standard outlet before you plug in the waterer. This is not optional if you care about your birds and your coop structure.
A coop is a moist environment. The single most important upgrade you can make is a GFCI outlet. Not optional.
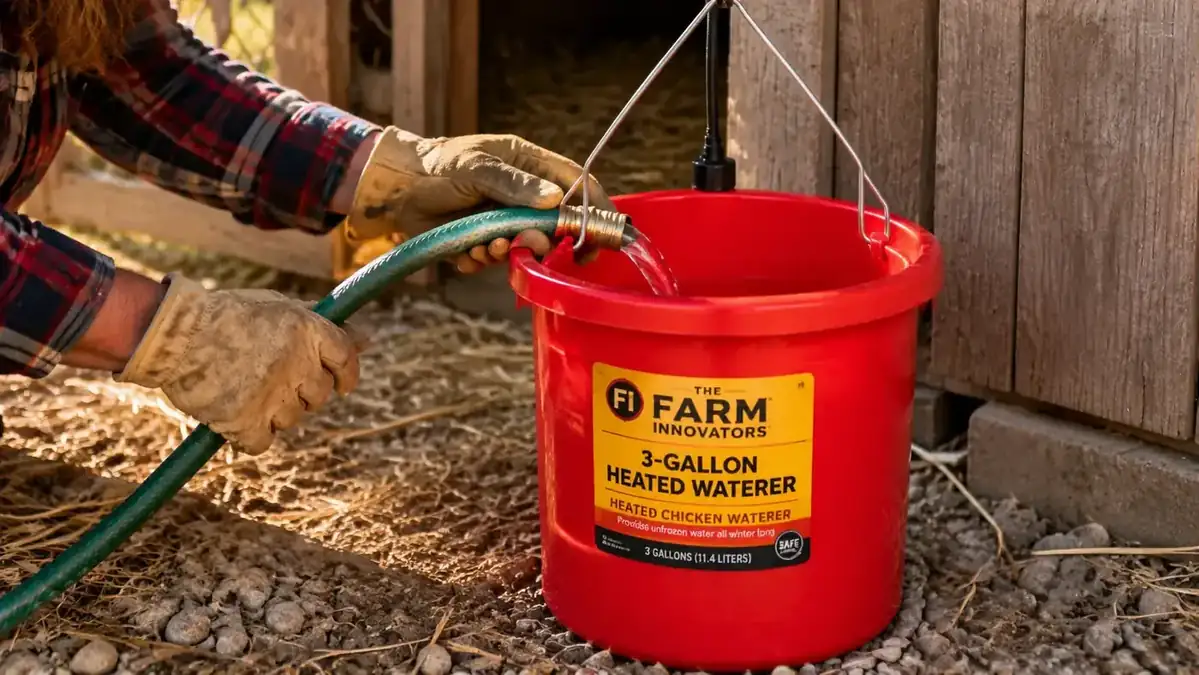
Step 4: Fill and Test Before Temperatures Drop
Do not wait for the first hard freeze to discover a problem. Fill the waterer completely, hang it at the right height, plug it in, and run it for 48 hours while the temperature is still moderate. Check that the thermostat cycles on when temps dip and off when they rise. The Farm Innovators unit has a built-in thermostat that activates the heating element when the water temperature approaches freezing. You can confirm it is working by checking that the water stays liquid on the first cold night, not by waiting until the first minus-10 morning.
While you are testing, check for any drips at the base of the waterer. A slow drip from the fill cap or the seam at the base will freeze into an ice patch directly under the unit, which then becomes a slip hazard for your birds and wicks cold up into the base. Tighten the fill cap firmly. If you see a seam drip on a brand-new unit, a thin wrap of plumber's tape on the fill threads usually fixes it.
Step 5: Build a Weekly Cleaning Routine and Stick to It
Heated water stays liquid. Liquid water grows algae and bacteria faster than icy water does, especially in a coop where organic matter is everywhere. A waterer you fill in November and ignore until March is going to be a swamp by January. Plan to empty, rinse, and scrub the trough and base at least once a week.
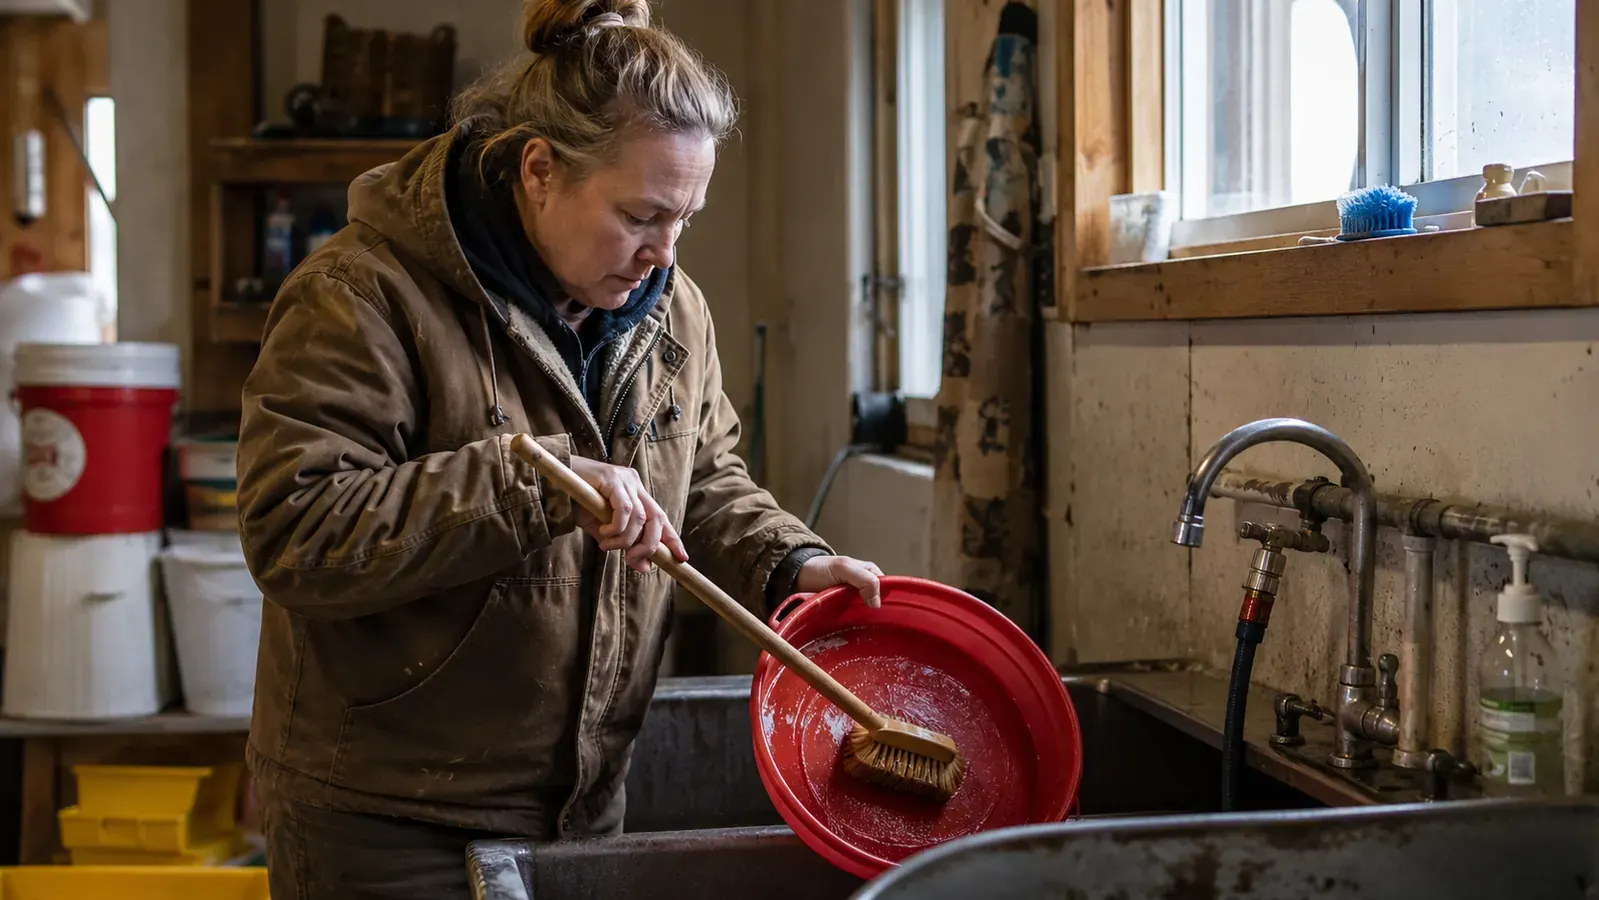
The cleaning routine for the Farm Innovators unit is straightforward: unplug it, lift it off the chain, carry it to a utility sink or a spot where you can dump it, empty the remaining water, scrub the inside of the base with a brush and a diluted white vinegar solution, rinse thoroughly, and refill. White vinegar breaks up mineral deposits and light biofilm without leaving a residue that could harm your birds. Avoid bleach inside the waterer unless you are doing a monthly deep clean and rinse it extremely well afterward.
Once a month, pull the waterer apart completely if the design allows and check around the heating element area for mineral scale buildup. Hard water deposits can coat the element over time and reduce efficiency. A soak in a 50/50 water and white vinegar solution for 30 minutes loosens most scale buildup before scrubbing.
Troubleshooting the Four Problems You Will Actually Run Into
Even with a good setup, winter throws things at you. Here are the four most common issues and exactly what to do about each one.
Problem: Water Is Still Freezing Despite the Heater Being On
First, confirm the unit is actually drawing power. Plug a phone charger into the same outlet and see if it charges. If the outlet is dead, the GFCI may have tripped. Find the GFCI outlet or the breaker panel and reset it. If the heater is drawing power but the water is still freezing, the ambient temperature has dropped below what the element can compensate for. The Farm Innovators waterer is rated to keep water liquid down to about minus 10 degrees Fahrenheit in a sheltered location. Below that threshold, you can add a second layer of insulation by wrapping the outside of the plastic base loosely in a waterproof foam pipe insulation sleeve, leaving the cord exit clear. Moving the waterer inside the coop rather than the open run also helps significantly.
Problem: Ice Ring Forming at the Rim of the Trough
An ice ring at the lip of the trough while the main body stays liquid is almost always a positioning issue. Cold air is hitting the exposed trough surface from above or from the side. Check whether a gap in the coop wall or run roof is directing a cold draft onto the top of the waterer. A simple plywood wind block, even a scrap piece mounted at an angle above the waterer, can eliminate this. Also make sure the waterer is hung close enough to the wall that it is not twisting and spinning in air currents. A secondary chain or zip tie from the cord to the wall keeps it stable.
Problem: Hens Not Drinking Enough
Chickens need to see water to seek it out. If you moved the waterer to a new corner for winter and your birds seem to be avoiding it for the first few days, that is normal flock caution. Walk them over to it two or three times a day and tap the surface of the water with your finger. They will figure it out within a week. If intake stays low after two weeks, check the water quality. If the trough smells off or looks cloudy, your cleaning schedule needs to tighten up. Fresh, clean, lukewarm water will pull even reluctant drinkers back.
Problem: Breaker Keeps Tripping
A tripping breaker usually means the circuit is overloaded, not that the waterer itself is faulty. If you are running a heat lamp, a second waterer, and a work light off the same circuit, 100 watts of waterer can push a loaded 15-amp circuit over the edge on a cold night when everything is running at once. The fix is to identify what else is on the coop circuit and move some loads to a different circuit, or run a dedicated 15-amp circuit just for the waterer. If the GFCI keeps tripping rather than the main breaker, check for moisture at the cord connections. Water at a connection point will cause a ground fault trip even if nothing is actually broken.
What Else Helps Keep Your Flock Watered All Winter
The heated waterer is the backbone of your winter water setup, but a few supporting habits make the whole season easier. Keep a backup rubber bowl in the coop for the rare morning when the heater is out for cleaning or a power issue left things frozen overnight. Rubber bowls flex so you can pop ice out with a twist rather than chipping at plastic. Refill the Farm Innovators unit every two to three days rather than waiting for it to run low, because shallow water loses heat faster and puts more load on the element. And if you are in a genuinely brutal climate, the Farm Innovators 3-gallon is the right size for a flock of up to 10 birds. Larger flocks should consider the 5-gallon version or a second unit.
One thing I track every winter is how much my girls are drinking relative to summer. Chickens drink less in cold weather, but they still need to drink. A hen that stops drinking entirely for more than a day is usually telling you something is wrong, whether that is illness, water quality, or a broken waterer she has given up on. Checking the water level daily takes 30 seconds and catches problems before they become emergencies.
If you want to go deeper on how the Farm Innovators unit performs across three full winters compared to the competition, the full review covers exactly that. And if you are deciding between the Farm Innovators and the API heated waterer, the head-to-head comparison breaks down the differences in thermostat behavior, build quality, and what happens when both get pushed below zero on the same night.
Set it up once, skip the frozen-bucket ritual all winter
The Farm Innovators 3-gallon heated chicken waterer is the most-reviewed heated waterer on Amazon, with 6,477 ratings and a built-in thermostat that only draws power when it needs to. Get yours set up before the first hard freeze hits your area.
Amazon Check Today's Price on Amazon →