I found four eggs on the coop floor three mornings in a row before I finally admitted the problem was not my hens. It was the nesting boxes. They were too high, too bright, and filled with a half-inch of pine shavings that got scratched out before noon every day. Once I fixed those three things, floor eggs dropped to nearly zero within a week. If your hens keep laying on the floor, or keep piling into one box while the others sit empty, the fix is almost always in how the boxes are set up, not in the birds themselves. Here is exactly how I do it now with six Buff Orpingtons and two Easter Eggers in a 6x8 walk-in coop.
Stop finding eggs on the coop floor. The right nesting pad makes boxes worth using.
Precision Pet nesting pads give hens a firm, grippy surface that stays put, stays dry, and gives eggs a soft landing. Rated 4.6 stars across nearly 6,000 reviews from keepers who were tired of dirty eggs and displaced shavings.
Amazon Check Today's Price on Amazon →Step 1: Count Your Boxes First
The rule of thumb is one nesting box for every four to five hens. That is the minimum, not the target. With eight hens I run three boxes, and honestly they could use four. Hens are picky. Even if nine boxes are open, six of them will queue up for the same favorite box and stand there grumbling like they are in line at the post office. The line breaks down when there are enough good alternatives that feel equally private and comfortable.
If you have fewer boxes than the ratio calls for, hens get crowded out and start investigating the coop floor as an alternative. They are not being difficult. They simply cannot get a box when they need one. Add boxes first before troubleshooting anything else. You can build simple ones from scrap plywood, buy a stackable metal unit, or repurpose a milk crate with a partial front board to keep bedding in. Dimensions matter too: 12x12 inches works for most standard breeds. Cochins and Jersey Giants do better at 14x14 or even 16x16.
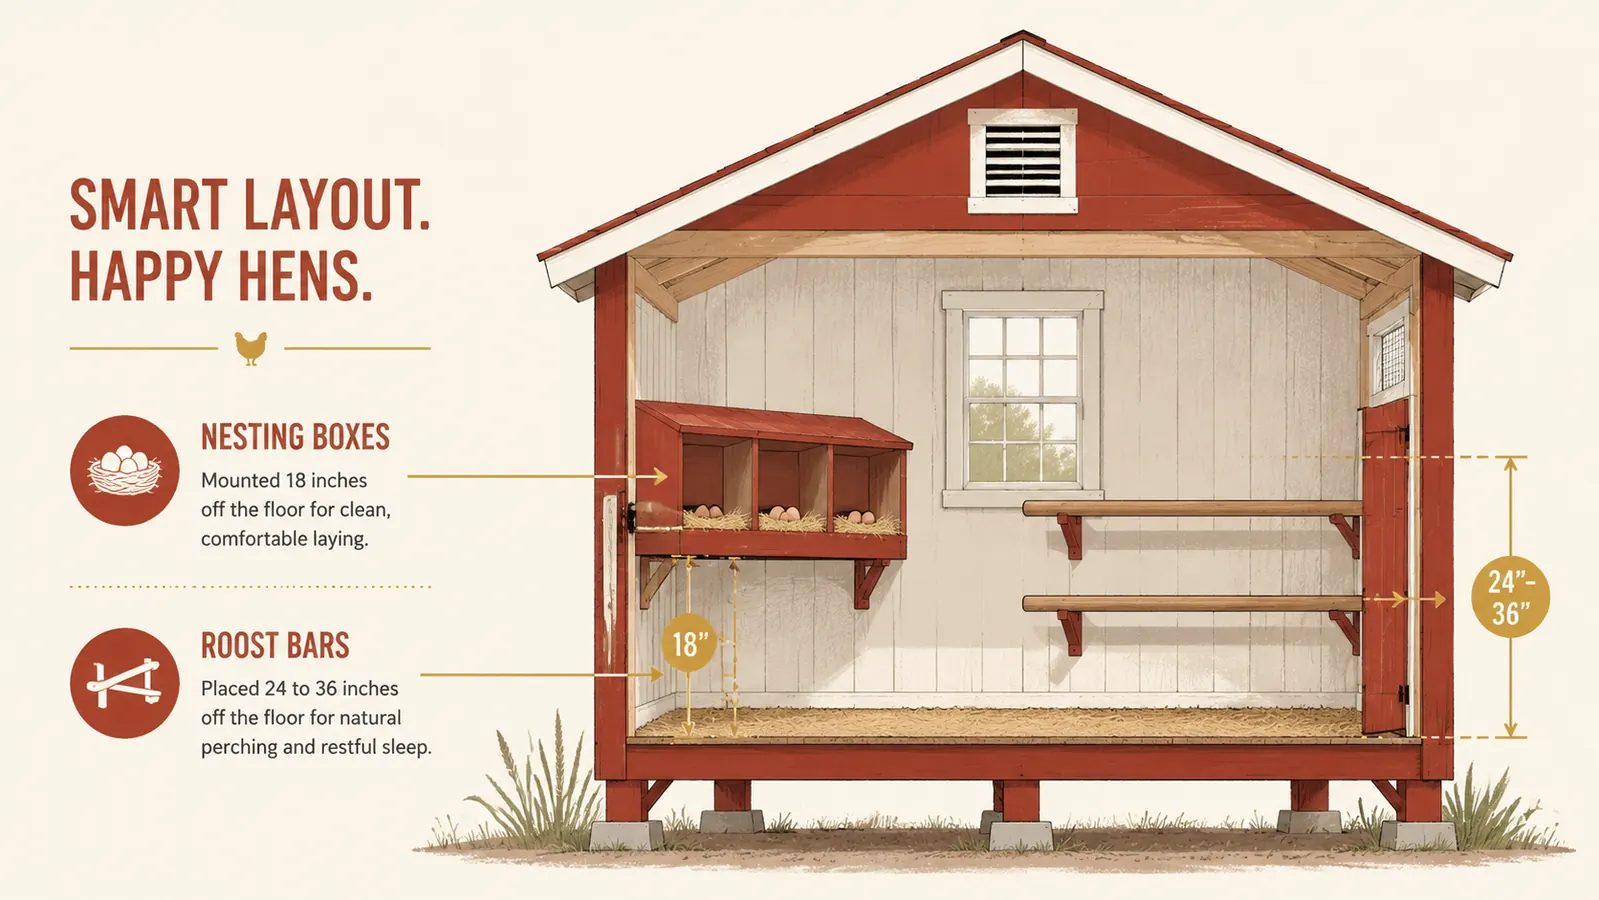
Step 2: Get the Height Right
Nesting boxes should sit 18 inches off the floor, give or take a few inches. That is high enough to feel safe and elevated, but clearly lower than your roost bars. This matters more than most guides admit. Chickens sleep at the highest point they can reach. If your nest boxes are at the same height as or higher than the roost bars, hens will sleep in them. And sleeping hens in nesting boxes means overnight droppings directly on the bedding and on your eggs. The nest boxes need to lose that competition on purpose.
Roost bars in my coop run at 28 inches. Nest boxes sit at 18 inches. The gap is intentional and obvious to the birds. If you are retrofitting a coop where the boxes were built at roost height, either raise the roost bars or lower the boxes. Blocking the boxes at night with a board until hens break the sleeping habit can also help, though it means an extra step every morning to unblock them before the ladies need to lay.
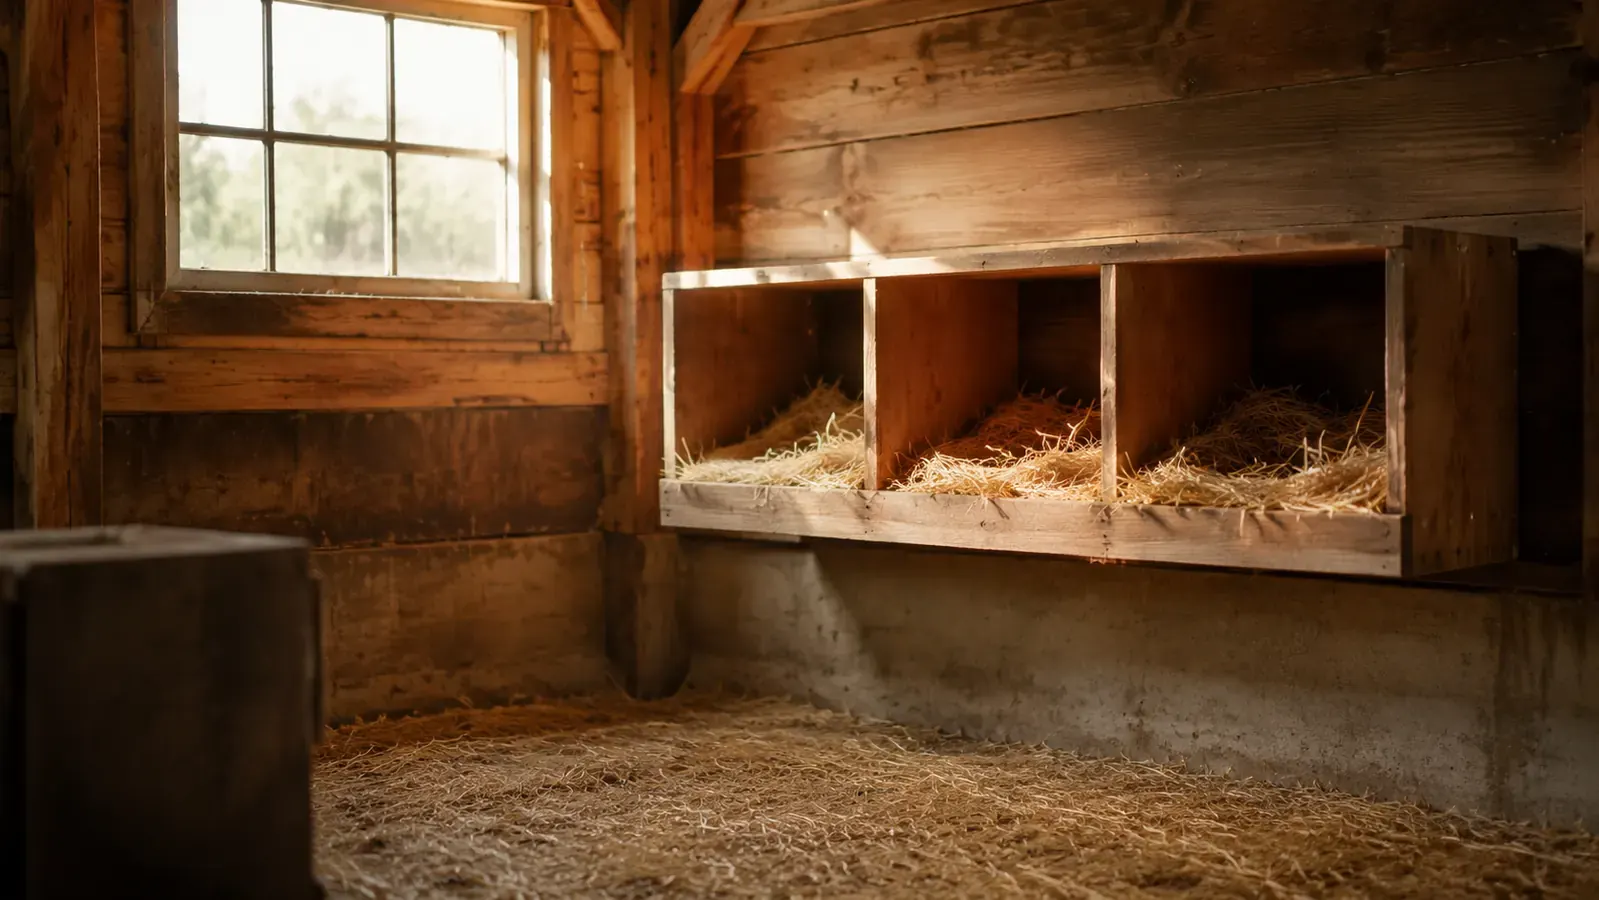
Step 3: Make the Boxes Dark and Private
A hen looking for a place to lay is driven by a hardwired instinct to find somewhere dark, enclosed, and protected. A nesting box facing a bright window with no curtain fails that test completely. I added burlap curtains to all three of my boxes, just two strips of fabric cut from a feed sack and stapled above the opening so they hang down. Hens push through them easily, and the boxes went from half-used to fully occupied within two days. It sounds too simple to work. It works.
Location matters alongside the curtains. If you can position your boxes on the shadiest wall of the coop, away from windows and from the pop door, the boxes will feel more den-like. Hens also prefer boxes that are a little recessed or set into a corner rather than protruding out into open space. If your coop layout is fixed, the curtain is the easiest lever to pull and it makes a significant difference.
I added burlap curtains cut from a feed sack and the boxes went from half-used to fully occupied within two days. It sounds too simple to work. It works.
Step 4: Fix the Bedding So It Stays Put
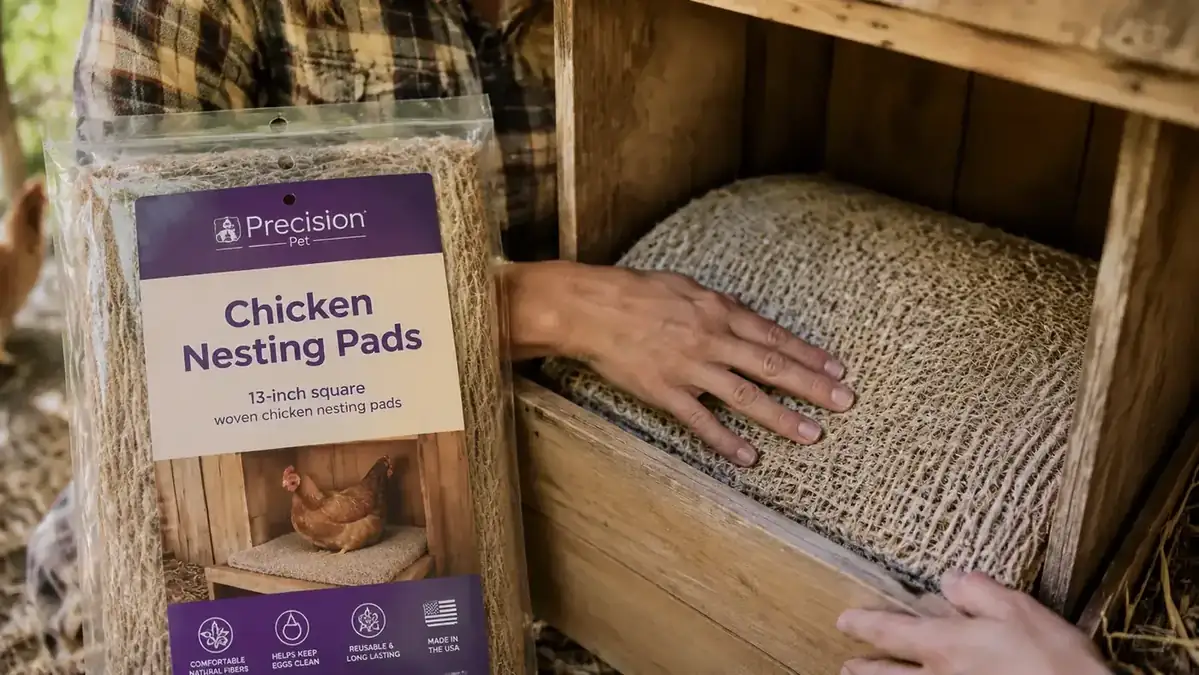
This is where the Precision Pet nesting pads came in for me, and they genuinely changed how my boxes function. Loose bedding, whether it is straw or pine shavings, gets kicked out constantly. Hens scratch and rearrange before laying, and within a few days the box floor is bare wood with a pile of shavings in the corner. A bare wood floor is harder for a hen to grip, gives no cushion for eggs, and is harder to clean. I was replacing or redistributing loose bedding every two or three days.
The Precision Pet pads are 13x13 inches and fit most standard nest boxes without trimming. They are made from a compressed, fibrous material that feels like heavy-duty excelsior. Hens can still scratch at them, but the pad does not go anywhere. Eggs sit cleanly in the surface rather than rolling to the edges. The pad lifts out in one piece for cleaning, dries quickly, and does not harbor moisture the way deep loose shavings can. I keep a second set so one is always clean and ready to swap in. At the current price for a pack of six, that rotation costs less than a bag of shavings every few weeks.
If you want to keep loose bedding on top of the pad for hens that strongly prefer to scratch-nest, you can. Even an inch of straw on top of the pad stays better contained because the pad creates a base with some grip. But most of my girls seem perfectly happy with just the pad. Check the listing page for compatibility notes if your boxes are a non-standard size.
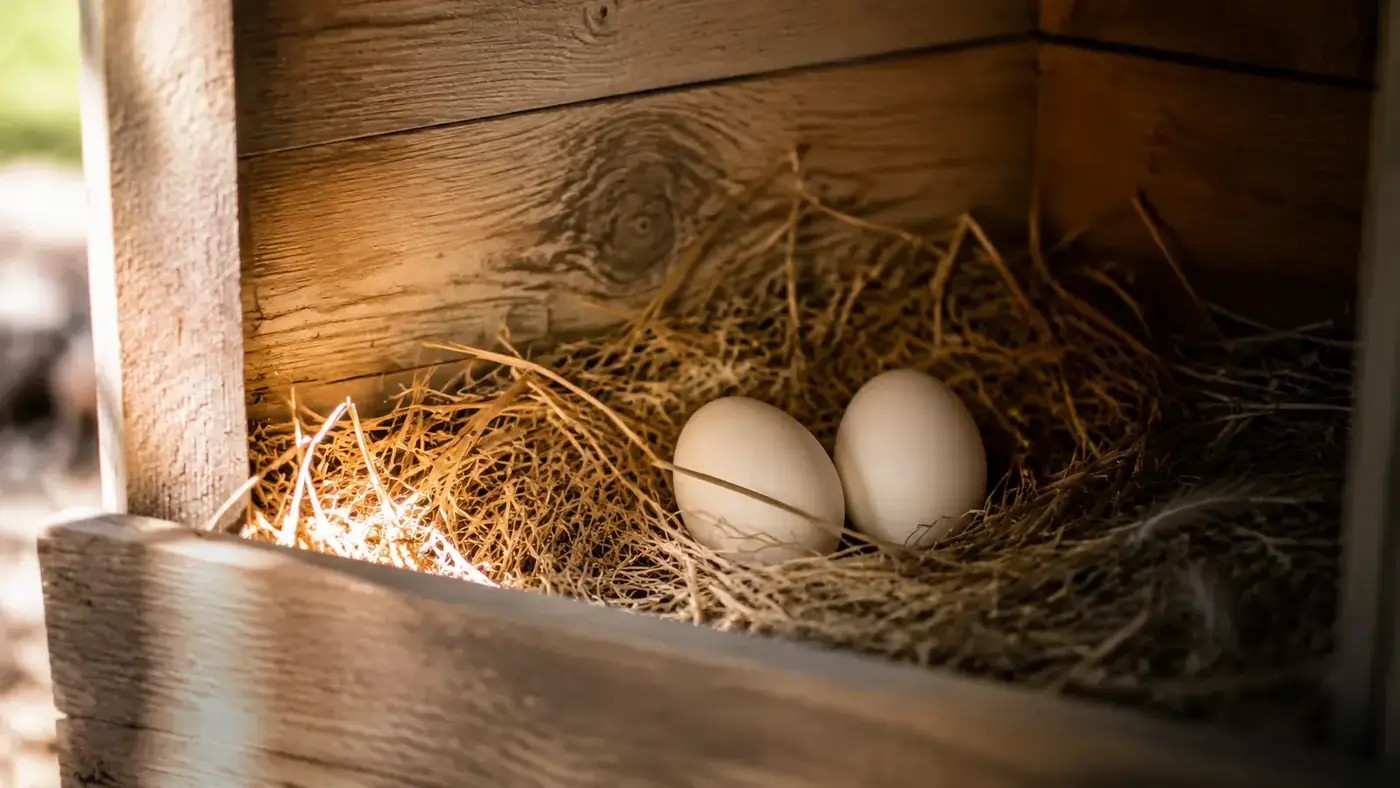
Step 5: Put a Decoy Egg in Every Box
Chickens are followers. If a box already looks occupied, or if it already looks like a place where eggs happen, it is more appealing to a hen looking for the right spot. Ceramic decoy eggs or plastic Easter eggs work equally well. Drop one into each box when you first set up or reset the boxes. Leave them there permanently. They take about 30 seconds to place and they signal to young pullets especially that these boxes are the approved laying spots.
I use plain white ceramic eggs I found at a feed store for a dollar each. Some keepers paint them to match the breed they keep, which is a bit much, but I appreciate the commitment. The logic is consistent regardless of material: hens are wired to lay where eggs already are. Use that instinct to steer them where you want them.

Step 6: Deal with Broody Hens Hanging Out in the Boxes
A broody hen camped in a nesting box all day blocks other hens from using it, which pushes them toward the floor. If you are not trying to hatch eggs, you need to break the broodiness or at least keep the hen from monopolizing the box around peak laying hours, which is typically between 9am and 1pm for most flocks. The simplest approach is to close the boxes off entirely between 1pm and the following morning. Hens usually finish laying by early afternoon, so you are not missing eggs, and a broody hen without a dark enclosed space will often break out of the broody phase faster.
If closing the boxes is not practical, move the broody hen twice a day to break her focus. Some keepers use a wire-bottom broody-breaker cage elevated off the floor for a few days, which reduces body temperature and interrupts the hormonal signal. It sounds harsh but it is temporary and much better for the hen than letting her starve herself on a clutch of infertile eggs for weeks.
Step 7: Handle the Floor-Egg Problem If It Persists
If you have done all of the above and a hen is still laying on the floor, there are a few more things worth checking. First, is the hen new to the flock or a young pullet laying her first eggs? First-time layers sometimes miss the box entirely because they have not fully figured it out yet. Confining them in the coop for a few extra hours in the morning, past the time other hens have laid, often gets them started in the right direction.
Second, check whether there is a pecking-order issue. Lower-ranking hens sometimes get chased away from boxes by dominant birds. If your dominant hen is camping and blocking access, adding a fourth box even in a small flock can give the bottom-of-the-order birds a place to go. Third, check the floor itself. If the coop floor has a particularly cozy corner with deep litter buildup, hens may prefer it over a box because it feels just as enclosed. Raking that corner flatter removes the appeal.
Finally, make sure no outside light is hitting the boxes through a crack or gap at an angle that makes the floor corner look darker by comparison. I once spent two weeks troubleshooting a floor-egg problem that turned out to be a gap in the coop siding that lit up the nesting boxes in the afternoon and made a shaded floor corner look like the better option. Fixed the gap with a strip of weatherstripping and the problem vanished.
What Else Helps
A clean box invites use. If a box smells like old wet shavings or has accumulated droppings from a hen who slept there, other hens avoid it. Do a full scrub of your boxes at least once a month. With nesting pads, this takes about five minutes: pull the pad, wipe down the wood, drop in a fresh or cleaned pad, done. With loose shavings, the same job takes longer and the smell can linger in the wood.
Internal links to related reading: if you are deciding between nesting pads and loose pine shavings, see the full comparison at the nesting pads versus pine shavings article. If you want to understand what else affects egg cleanliness beyond bedding, the full Precision Pet nesting pads review walks through six months of data including egg wash rates before and after switching.
Nesting pads that stay put, clean fast, and cost less per week than replacing shavings.
The Precision Pet nesting pads fit standard 12x12 and 13x13 boxes, lift out in one piece for cleaning, and give hens a surface that does not scatter. Rated 4.6 stars from nearly 6,000 reviews. See current pricing and pack sizes on Amazon.
Amazon Check Today's Price on Amazon →